
この記事ではShopifyでSNSシェアボタンを表示する方法について解説していきます。
目次
完成形
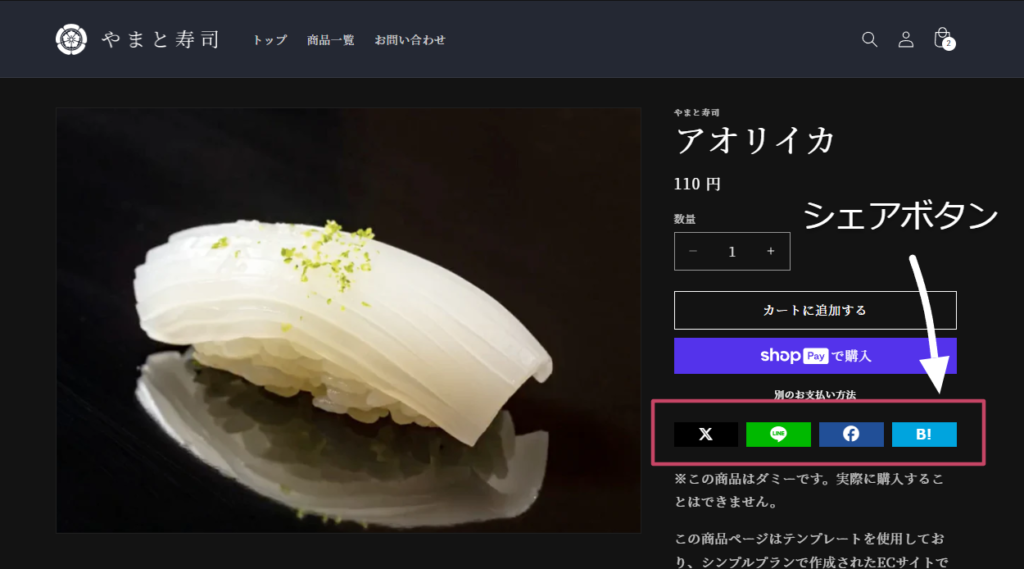
こちらが完成形です。日本で主要なSNS4つに対応し、クリックすると現在ページを共有できるようになっています。
設定方法
「オンラインストア > テーマ > カスタマイズ」をクリックします。
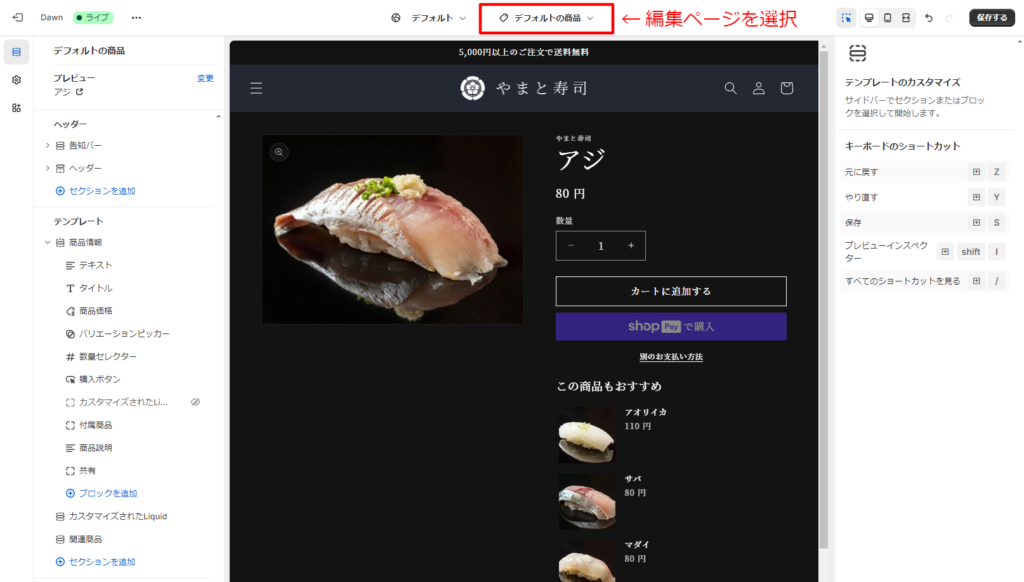
表示したいページを選択します。今回は例として商品ページに表示しますが、ブログページやコレクションページも同じ手順で実装可能です。
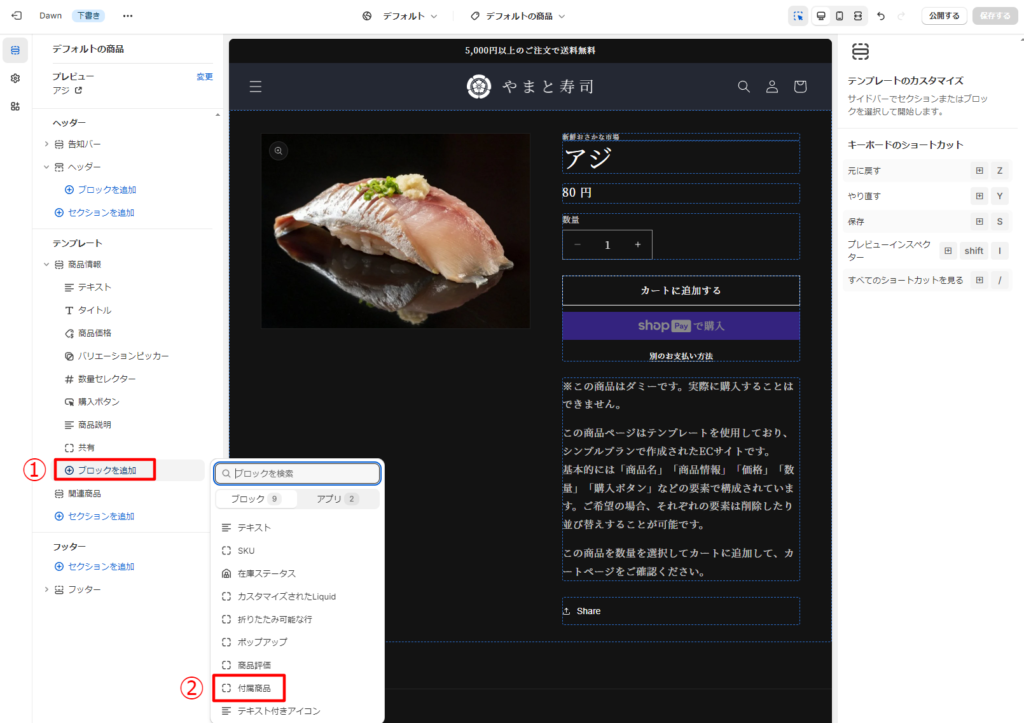
「①ブロックを追加 > ②カスタムLiquid」を選択します。ブロックは追加後にドラックして好きな場所に移動できます。
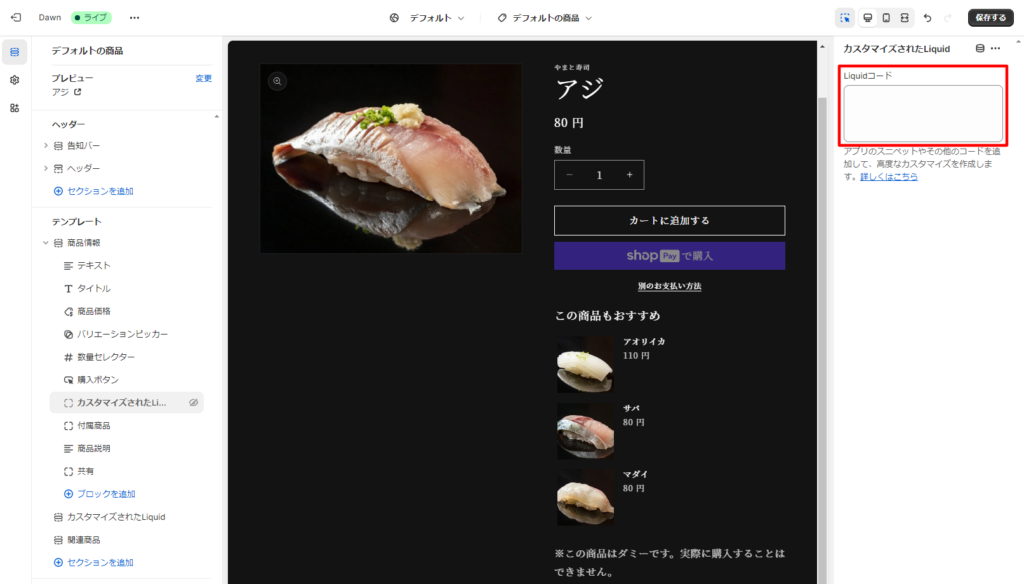
赤枠に下記のLiquidコードを貼り付けます。貼り付けたら保存してください。
Liquid
{% assign url = request.origin | append: request.path %}
<link href="https://cdnjs.cloudflare.com/ajax/libs/font-awesome/6.6.0/css/all.min.css" rel="stylesheet">
<div class="sns-button">
  <a href="http://twitter.com/share?url={{ url }}" class="x" target="_blank"><i class="fa-brands fa-x-twitter"></i></a>
  <a href="https://line.me/R/share?text={{ url }}" class="line" target="_blank"><i class="fa-brands fa-line"></i></a>
  <a href="http://www.facebook.com/share.php?u={{ url }}" class="facebook" target="_blank"><i class="fa-brands fa-facebook"></i></a>
  <a href="http://b.hatena.ne.jp/add?mode=confirm&url={{ url }}" class="hatena">B!</a>
</div>
左の歯車マークから「テーマ設定 > カスタムCSS」へ進みます。
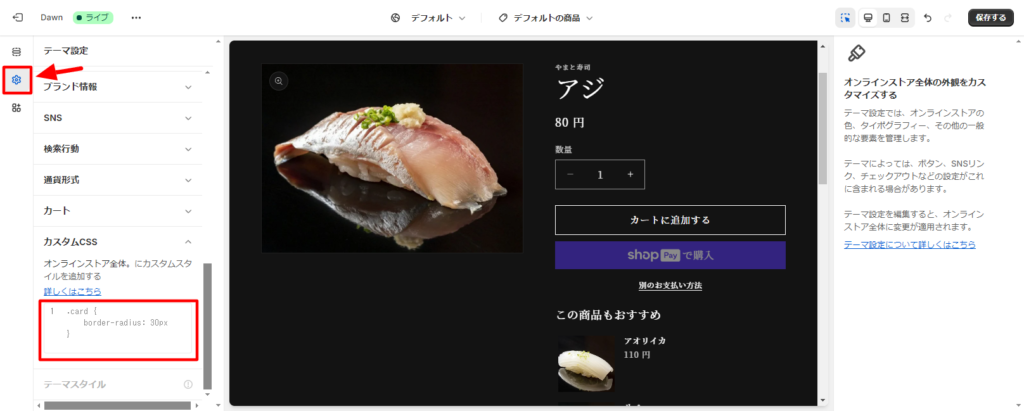
下記のCSSコードを貼り付けます。既にCSSコードが書いてある場合は上書きしないように注意して、一番下に追加してください。
CSS
/* シェアボタン */
.sns-button {
    display: flex;
    justify-content: center;
    column-gap: 10px;
    width: 100%;
}

.sns-button a {
    display: grid;
    place-items: center;
    width: 100%;
    max-width: 120px;
    min-width: 60px;
    font-size: 18px;
    height: 30px;
    color: #FFF;
    line-height: 1;
    text-decoration: none;
    font-family: sans-serif;
    font-weight: 600;
    transition: opacity 0.25s;
}

.sns-button a:hover {
    opacity: 0.7;
}

.sns-button a.x {
    background: #000;
}

.sns-button a.instagram {
    background: red;
}

.sns-button a.line {
    position: relative;
    background: #00b900;
    font-size: 28px;
    color: #00b900;
}

.sns-button a.line:before {
    position: absolute;
    content: "";
    height: 24px;
    width: 24px;
    background: #FFF;
}

.sns-button a.line i {
    z-index: 1;
}

.sns-button a.facebook {
    background: #214f97;
    font-size: 19px;
}

.sns-button a.hatena {
    background: #00a4de;
    font-size: 17px;
    padding-top: 2px;
}
保存して実装完了です!


コメント